 Skip to content
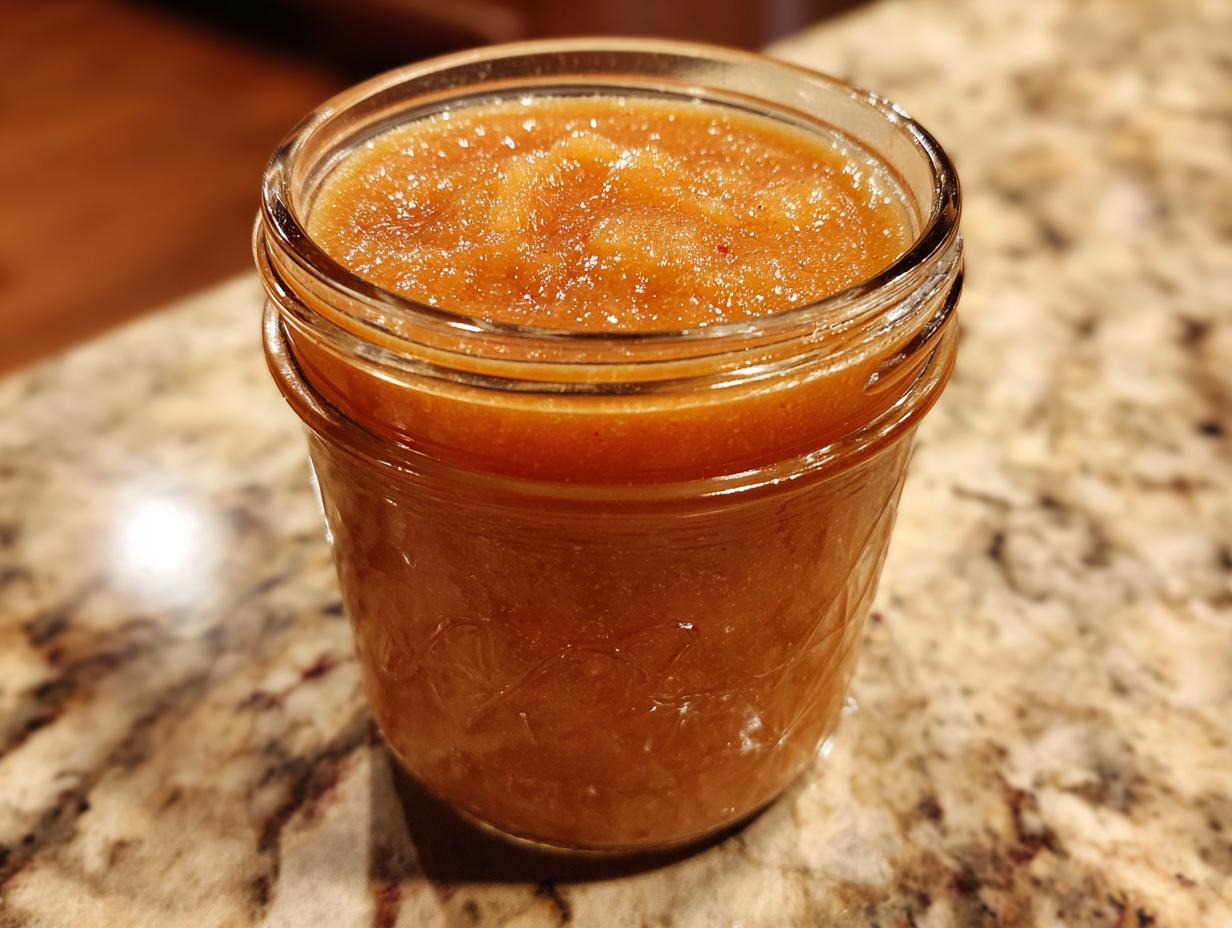
Oh, hello there! Carmen here, all the way from sunny Valencia, Spain. While my kitchen usually smells of paprika and citrus, there’s something truly magical about capturing the essence of autumn, isn’t there? That’s why I fell head over heels for canning applesauce. It’s like bottling up a crisp fall day to enjoy whenever the craving strikes! When I first started experimenting with preserving seasonal produce, I was amazed at how simple it was to take beautiful fresh apples and turn them into something that lasts for months. My culinary background has always taught me to respect the ingredients, and with applesauce, you’re really letting that natural sweetness and perfect texture shine through. It’s not just about preserving; it’s about having a little taste of home, a reminder of harvest season, right in your pantry.
Why You’ll Love Canning Applesauce
Honestly, canning applesauce is just so rewarding! You take these gorgeous, seasonal apples and turn them into jars of pure goodness that you can enjoy all year long. It’s really one of the easiest ways to get into preserving, perfect if you’re just starting out. Plus, nothing beats the taste of homemade applesauce – way better than anything from the store, trust me!
- It’s a simple, rewarding way to preserve fresh apples.
- It’s absolutely perfect for beginners!
- You get delicious homemade applesauce that tastes so much better than store-bought.
- It offers a wonderful taste of seasonal goodness anytime you want it.
Best Apples for Canning Applesauce
Choosing the right apples can make all the difference, you know? For the best applesauce, you want apples that have a nice balance of sweet and tart, and that break down really well when you cook them. My favorites for canning applesauce are varieties like Fuji, Gala, or Honeycrisp. They have a lovely sweetness and a great texture that just melts into the perfect applesauce. Stay away from apples that are too mealy or don’t have much flavor. I always look for firm, ripe apples – they just give you that best-ever taste and texture. So, when you’re at the market, grab a mix if you can, or stick to these reliable choices for a fantastic batch of canned applesauce.
Essential Ingredients for Canning Applesauce
Okay, let’s talk about what you’ll need for our canning applesauce adventure! It’s pretty straightforward, which is part of why I love it so much. You’ll want about a peck of apples, which is usually around 20 to 24 medium-sized ones. Like I mentioned, Fuji, Gala, or Honeycrisp are fantastic choices here! You’ll also need 2 cups of water to help them soften up. Now, sugar is totally optional, but if you like it a little sweeter, start with about half a cup and adjust it to your taste. And for that cozy fall flavor, a teaspoon of ground cinnamon and a quarter teaspoon of ground nutmeg are just perfect, but feel free to play around with those spices!
Canning Applesauce Step by Step: A Beginner’s Guide
Alright, let’s get down to the nitty-gritty of how to can applesauce! Don’t worry, it’s totally doable, even if you’ve never canned anything before. We’re going to walk through it together, step by step, so you end up with beautiful jars of homemade goodness. This is how to can applesauce the right way, ensuring it’s safe and delicious!
Preparing Your Apples for Canning
First things first, let’s get those apples ready! You want to wash them really well under cool running water. Then, it’s time to peel them, get rid of the cores, and slice them up. I usually slice them into quarters or eighths, depending on their size. Don’t stress too much about perfection here; they’re all going to be cooked down anyway!
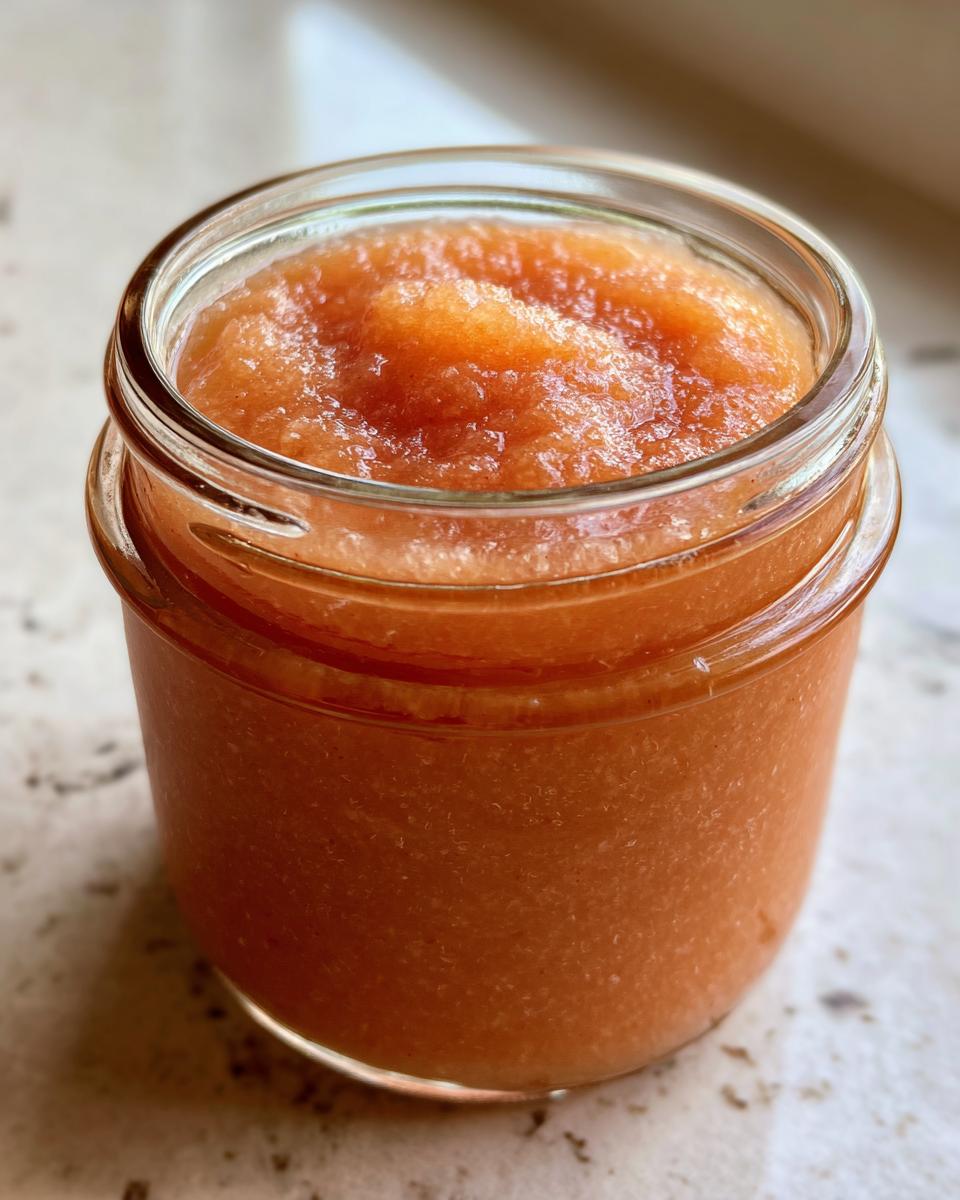
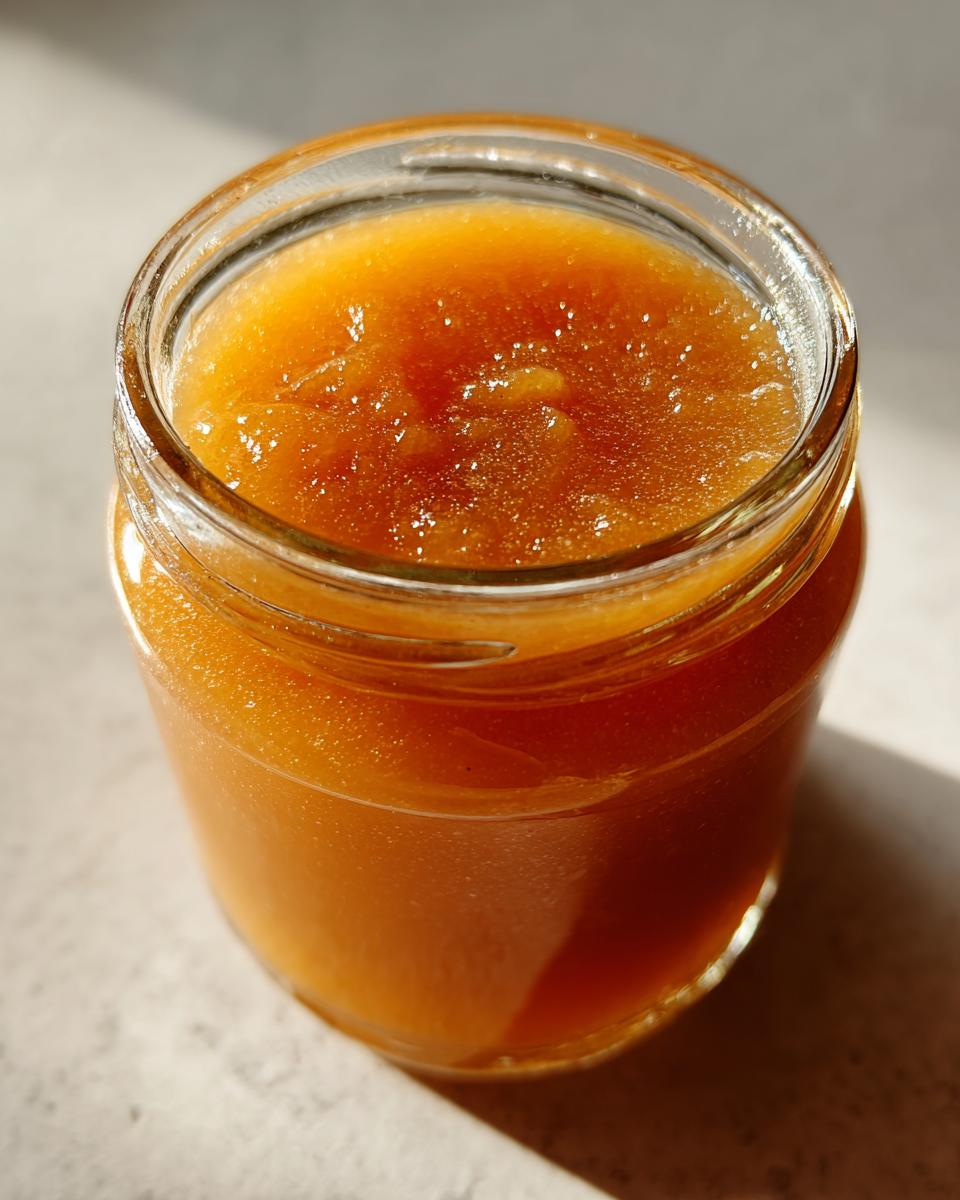
Cooking and Pureeing Your Applesauce
Now, pop those sliced apples into a big pot with the water. We’re going to cook them over medium heat. It usually takes about 15 to 20 minutes, or until they’re nice and tender. Once they’re soft, you can mash them up with a potato masher for a chunkier texture, or use an immersion blender or a food mill for a super smooth applesauce. This is also the perfect time to stir in your sugar and spices if you’re using them. Taste it and see if it’s just right for you!
The Art of Preserving Applesauce in Jars
Okay, this part is crucial for making sure your applesauce stays fresh. Get your canning jars and lids all prepared according to the manufacturer’s instructions – usually that means hot water to sterilize them. Carefully ladle your hot applesauce into these hot jars. It’s important to leave about a half-inch of space at the top, which we call headspace. Then, wipe the rims of the jars really well with a clean cloth. Put the lids on and screw the bands down just until they’re fingertip tight. We don’t want them too tight, or the air won’t be able to escape during processing.
Water Bath Canning Your Applesauce Safely
Now for the actual canning part! You’ll need a large pot specifically for water bath canning. Make sure your jars are standing upright in the canner, and fill it with enough boiling water to cover the jars by at least an inch. Bring the water back to a rolling boil, then start your timer. We’ll process these for 20 minutes. Remember, if you live at a higher altitude, you’ll need to add a bit more processing time, so check your canning guidelines for that. This water bath step is what makes it easy canned applesauce that will last!
Tips for Successful Canning Applesauce
Getting your applesauce just right for canning is all about a few key things. My best applesauce canning tips really come down to making sure your equipment is super clean – sterilize those jars and lids properly! Seriously, cleanliness is next to godliness in the preserving world. A common mistake is not leaving enough headspace, or tightening the bands too much. Remember, the lids need a little wiggle room to seal. Another thing: don’t rush the cooling process after canning. That’s when the magic happens and the seals form!
Checking Your Canned Applesauce Seals
Once your jars have cooled for about 12 to 24 hours, it’s time for the seal check! You’ll know they’re sealed if the center of the lid is concave, meaning it’s pulled down and doesn’t flex when you press it. If a lid hasn’t sealed, don’t worry! Just pop it in the fridge and enjoy it within a week or two.
Storing Your Canned Applesauce
Proper storage is key to keeping your beautiful canned applesauce fresh. Store your sealed jars in a cool, dark place, like a pantry or basement. Keep them away from direct sunlight and extreme temperatures. Properly stored, your homemade applesauce can last for about a year, maybe even longer!
Frequently Asked Questions About Canning Applesauce
Got questions about canning applesauce? I’ve got answers! It’s totally normal to have a few things pop into your head when you’re trying something new, especially when it comes to preserving food safely. Here are some common ones I hear:
Q: Can I can applesauce without adding any sugar?
Absolutely! If you’re making applesauce for beginners and want to keep it simple, you can totally skip the sugar. The natural sweetness of the apples usually comes through beautifully. If you find it’s not sweet enough for your taste after you’ve canned it, you can always add a touch of sweetener when you serve it.
Q: What’s the best way to store my canned applesauce?
The best way to store your canned applesauce is in a cool, dark, and dry place. Think of a pantry or a cellar where the temperature is pretty consistent. Keeping them out of direct sunlight really helps maintain their quality and flavor over time. Make sure those lids are sealed tight!
Q: How long does canned applesauce typically last?
When canned properly, your homemade applesauce should last for about a year, maybe even a little longer. The key is that good seal and proper storage. If you ever notice a lid bulging or if it smells “off” when you open it, it’s best to toss it, just to be safe.
Q: Can I add other fruits or flavors when canning applesauce?
Oh, you bet! That’s one of the joys of making your own! You can add a handful of berries, a little bit of pear, or even some dried cranberries during the cooking process. For canning applesauce, you can also add extra spices like ginger or cardamom for a unique twist. Just make sure any additions don’t change the acidity too much, as that’s important for safe water bath canning.
Caring For Your Canned Applesauce
Now that you’ve gone through the wonderful process of canning applesauce, taking good care of your creations is super important! Storing your jars properly is key to keeping that delicious homemade taste for as long as possible. Remember to keep them in a cool, dark, and dry place – a pantry or a cupboard away from heat sources and direct sunlight is perfect. This helps maintain their quality and ensures that lovely flavor stays put. When you’re ready to enjoy it, just open a jar! You can gently reheat it on the stovetop or in the microwave if you prefer it warm. Properly stored, your canned applesauce should be good for about a year, giving you plenty of time to savor that taste of home!
Enjoying Your Homemade Canned Applesauce
So, you’ve done it! You’ve successfully canned your own applesauce, and now it’s time for the best part – enjoying it! This homemade canned applesauce is so versatile. Of course, it’s delicious on its own, maybe warmed up with a sprinkle of cinnamon for a cozy snack. But it’s also fantastic served alongside pork chops or roasted chicken – it’s a classic for a reason! Or, spoon it over pancakes, waffles, or even vanilla ice cream for a simple yet elegant dessert. You can even use it as a binder or a moistening ingredient in baked goods like muffins or cakes. The possibilities are really endless!
Print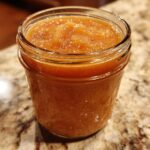
Canning Applesauce: 1 Easy Magical Recipe
- Total Time: 70 minutes plus cooling time
- Yield: Approximately 6-7 pint jars 1x
- Diet: Vegetarian
Description
Learn how to can applesauce with this simple, step-by-step guide. Preserve the taste of fresh apples for year-round enjoyment. Perfect for beginners and home cooks.
Ingredients
- 1 peck of apples (about 20–24 medium apples)
- 2 cups water
- 1/2 cup sugar (optional, adjust to taste)
- 1 teaspoon ground cinnamon (optional)
- 1/4 teaspoon ground nutmeg (optional)
Instructions
- Wash apples thoroughly. Peel, core, and slice them.
- Place sliced apples in a large pot with water.
- Cook over medium heat until apples are tender, about 15-20 minutes.
- Mash or puree the cooked apples to your desired consistency.
- If using, stir in sugar and spices.
- Prepare canning jars and lids according to manufacturer’s instructions.
- Ladle hot applesauce into hot jars, leaving 1/2 inch headspace.
- Wipe jar rims clean and place lids on jars. Screw on bands fingertip tight.
- Process jars in a boiling water bath for 20 minutes (adjust for altitude).
- Remove jars from the canner and let them cool on a towel-lined counter for 12-24 hours.
- Check seals. Store sealed jars in a cool, dark place.
Notes
- Choose firm, ripe apples like Fuji, Gala, or Honeycrisp for best results.
- Adjust sugar and spices to your preference.
- Ensure your canning equipment is clean and sterilized.
- Follow proper canning safety guidelines to prevent spoilage.
- Prep Time: 30 minutes
- Cook Time: 40 minutes
- Category: Preserves
- Method: Water Bath Canning
- Cuisine: American
Nutrition
- Serving Size: 1/2 cup
- Calories: 120
- Sugar: 25g
- Sodium: 5mg
- Fat: 0g
- Saturated Fat: 0g
- Unsaturated Fat: 0g
- Trans Fat: 0g
- Carbohydrates: 30g
- Fiber: 2g
- Protein: 0g
- Cholesterol: 0mg
Keywords: canning applesauce, homemade applesauce, preserve apples, fruit canning, applesauce recipe, easy canning, beginner canning, spiced applesauce, fall recipes, pantry staples